Subject depth: start at the nearest point
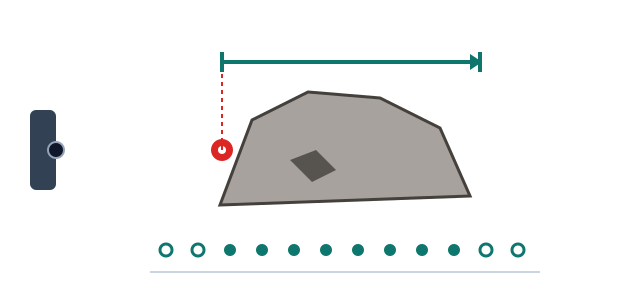
Tap the point of the subject that is nearest to you. The app starts there and shoots backwards through the depth you set. Set the depth a little larger than the subject.
The principle
Stacking needs to know where to start and where to stop. The point you tap tells the app where to start; the depth tells it how far back to go.
The nearest point is usually the easiest to find and the easiest to miss. Using it as the start makes sure the front of the subject is covered.
Setting the depth
- Make it a little larger than the real depth of the subject: too thin and the back will be blurred.
- Not much larger: too deep means many more photos and a longer merge.
- If you do not tap, the app uses the centre of the screen as the starting point.
The app helps
The app adds a few extra photos in front and behind as a safety margin, so being slightly off is fine.
More basics
Why one photo is not sharp: depth of field and focus stackingThe closer you shoot, the thinner the sharp zone. Stacking merges the sharp parts of many photos.Too close: the minimum focus distanceEvery lens has a closest distance it can focus on. Anything nearer will not be sharp.
These are the basic principles. The best way to shoot depends on you and on the subject — try a few times and you will find your own way.